
PWM Motor Control: Complete Guide to DC Motor Speed Control with Pulse Width Modulation
- Admin: IDAR Mohamed
- 07 Oct 2025
- 0
Pulse Width Modulation (PWM) has revolutionized DC motor speed control, offering an efficient and precise method for regulating motor performance without the energy waste and heat generation of traditional variable resistance methods. Whether you're building robotics projects, automating industrial equipment, or designing battery-powered devices, understanding PWM motor control is essential for modern electrical engineering applications.
In this comprehensive guide, we'll explore how pulse width modulation works, why it's superior to other speed control methods, and how to implement it in practical circuits using microcontrollers and dedicated motor driver ICs.
What is PWM Motor Control?
Pulse Width Modulation is a technique that controls the average voltage supplied to a DC motor by rapidly switching the power supply on and off. Instead of reducing voltage continuously (which wastes energy), PWM delivers full voltage in short pulses, with the pulse width determining the effective power delivered to the motor.
The PWM Signal Components
A PWM signal has three key characteristics:
1. Duty Cycle: The percentage of time the signal is HIGH (on) during one complete cycle
- 0% duty cycle = motor off
- 50% duty cycle = motor runs at half speed
- 100% duty cycle = motor runs at full speed
2. Frequency: How many on/off cycles occur per second, measured in Hertz (Hz)
- Typical range: 1kHz to 20kHz for DC motors
- Higher frequencies provide smoother operation
3. Amplitude: The voltage level when the signal is HIGH
- Usually matches the motor's rated voltage (5V, 12V, 24V, etc.)
How PWM Controls DC Motor Speed
When a PWM signal is applied to a DC motor, the motor's mechanical inertia and inductance act as a natural filter, smoothing out the rapid on/off switching. The motor responds to the average voltage rather than the instantaneous switching.
Average Voltage Calculation
The average voltage delivered to the motor is calculated as:
Example: With a 12V supply and 60% duty cycle:
The motor operates as if it's receiving a constant 7.2V supply, running at approximately 60% of its maximum speed.
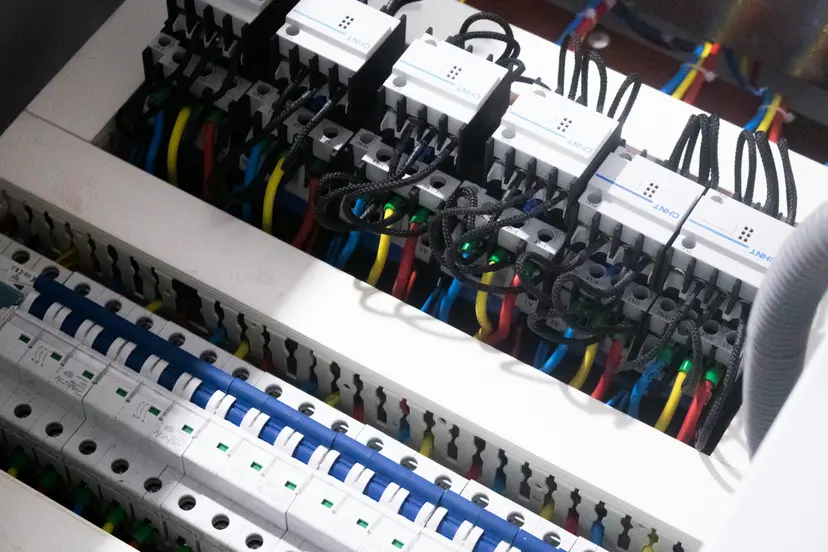
PWM vs. Traditional Speed Control Methods
| Method | Efficiency | Heat Generation | Torque at Low Speed | Cost |
|---|---|---|---|---|
| PWM | 90-95% | Minimal | Excellent | Moderate |
| Series Resistor | 50-60% | Very High | Poor | Low |
| Variable Voltage | 60-75% | High | Good | High |
| Rheostat | 40-50% | Extreme | Very Poor | Low |
PWM clearly dominates in efficiency and performance, making it the preferred choice for modern motor control applications.
Basic PWM Motor Control Circuit
Simple MOSFET-Based PWM Circuit
The simplest PWM motor control uses an N-channel MOSFET as a switch:

Circuit Components:
- N-Channel MOSFET (e.g., IRLZ44N): Acts as the electronic switch
- Flyback Diode (e.g., 1N4007): Protects against voltage spikes from motor inductance
- Gate Resistor (100Ω - 1kΩ): Limits gate current and controls switching speed
- PWM Signal Source: Microcontroller, 555 timer, or dedicated PWM generator
How It Works
- When PWM signal is HIGH, the MOSFET conducts, allowing current to flow through the motor
- When PWM signal is LOW, the MOSFET blocks current flow
- The flyback diode provides a path for inductive current when the MOSFET switches off
- Motor speed adjusts based on the duty cycle of the PWM signal
warning
Always include a flyback diode across inductive loads like motors. Without it, voltage spikes can destroy your MOSFET and damage your control circuit.
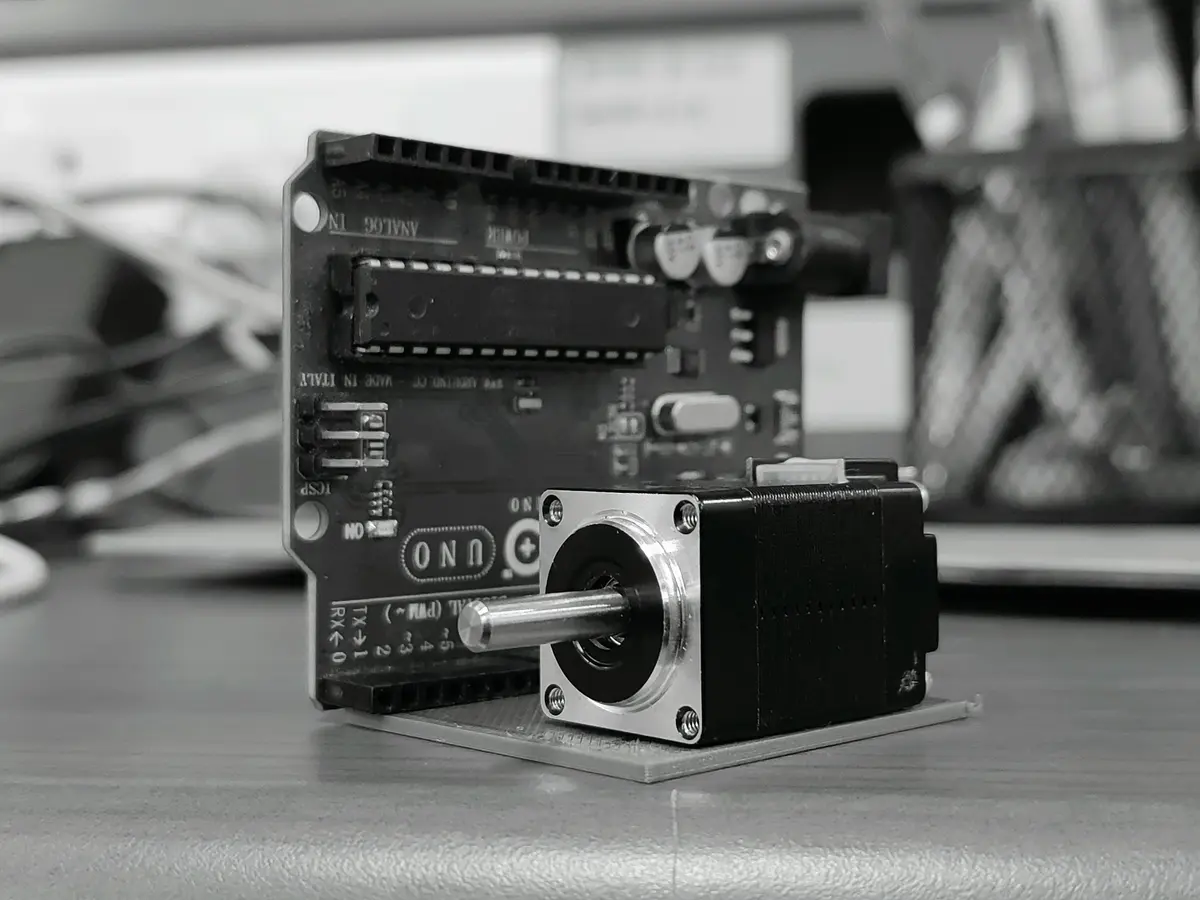
Arduino PWM Motor Control Implementation
Arduino boards provide built-in PWM functionality on specific pins, making motor control straightforward.
Basic Arduino Motor Control Code
const int motorPin = 9;

void setup() {
  pinMode(motorPin, OUTPUT);
}

void loop() {
  // Set motor speed (0–255, where 255 = 100% duty cycle)
  int motorSpeed = 128; // 50% speed
  analogWrite(motorPin, motorSpeed);

  delay(2000);

  // Increase to 75% speed
  motorSpeed = 191;
  analogWrite(motorPin, motorSpeed);

  delay(2000);
}
Arduino with Motor Driver IC (L298N)
For higher current motors, use a dedicated motor driver IC:
// L298N Motor Driver Connections
const int enablePin = 9;   // PWM pin for speed control
const int in1 = 7;         // Direction control
const int in2 = 8;         // Direction control

void setup() {
  pinMode(enablePin, OUTPUT);
  pinMode(in1, OUTPUT);
  pinMode(in2, OUTPUT);
}

void setMotorSpeed(int speed, bool direction) {
  // Set direction
  digitalWrite(in1, direction ? HIGH : LOW);
  digitalWrite(in2, direction ? LOW : HIGH);

  // Set speed (0-255)
  analogWrite(enablePin, abs(speed));
}

void loop() {
  setMotorSpeed(200, true);  // Forward at ~78% speed
  delay(3000);

  setMotorSpeed(150, false); // Reverse at ~59% speed
  delay(3000);
}
Selecting the Right PWM Frequency
The PWM frequency significantly impacts motor performance and system efficiency.
Frequency Ranges and Applications
Low Frequency (100Hz - 1kHz):
- Advantages: Simple to generate, works with most drivers
- Disadvantages: Audible motor whine, visible LED flicker if used for lighting
- Best for: Large industrial motors, low-cost applications
Medium Frequency (1kHz - 10kHz):
- Advantages: Good balance of performance and efficiency, minimal audible noise
- Disadvantages: Requires faster switching components
- Best for: General-purpose robotics, hobby projects, small to medium motors
High Frequency (10kHz - 40kHz):
- Advantages: Silent operation, smooth speed control, minimal electromagnetic interference
- Disadvantages: Increased switching losses, requires high-quality MOSFETs
- Best for: Precision applications, noise-sensitive environments, small motors
info
Most Arduino boards generate PWM at approximately 490Hz (pins 3, 9, 10, 11) or 980Hz (pins 5, 6). This frequency can be adjusted by modifying timer registers if higher frequencies are needed.
Advanced PWM Motor Control Techniques
Soft Start Implementation
Gradually increasing PWM duty cycle prevents excessive inrush current and mechanical stress:
const int motorPin = 9;

void setup() {
  // Define pins etc.
  pinMode(motorPin, OUTPUT);
}

void loop() {
  // Example: soft start to 200 PWM over 2 seconds
  softStart(200, 2000);
  delay(3000); // Wait before next cycle
}

void softStart(int targetSpeed, int rampTime) {
  int steps = 50;
  int delayTime = rampTime / steps;

  for (int i = 0; i <= steps; i++) {
    int currentSpeed = (targetSpeed * i) / steps;
    analogWrite(motorPin, currentSpeed);
    delay(delayTime);
  }
}
Closed-Loop Speed Control
For precise speed regulation, combine PWM with feedback from encoders or tachometers to create a PID control loop that automatically adjusts duty cycle based on actual motor speed versus desired setpoint.
Common PWM Motor Control Applications
Robotics and Automation
- Mobile robots: Differential drive control with independent motor speeds
- Robotic arms: Precise joint positioning and movement
- Conveyor systems: Variable speed material handling
HVAC and Fans
- Variable speed fans: Energy-efficient cooling systems
- Pump control: Flow rate regulation in heating and cooling systems
- Blower motors: Adjustable air circulation
Battery-Powered Devices
- Electric vehicles: Efficient speed control maximizes battery life
- Power tools: Adjustable drill speeds and torque
- Drones: Precise motor speed for stable flight control
Troubleshooting PWM Motor Control Issues
Motor Runs Erratically
- Check PWM frequency (too low causes jerky operation)
- Verify duty cycle calculations
- Ensure adequate power supply current capacity
Motor Doesn't Respond
- Confirm MOSFET/driver is receiving PWM signal
- Check gate threshold voltage compatibility
- Verify flyback diode polarity and motor connections
Excessive Heat in Driver Circuit
- Reduce PWM frequency to minimize switching losses
- Use MOSFET with lower on-resistance (RDS(on))
- Add heatsink to power components
- Check for short circuits or overloaded motor
Conclusion: Mastering PWM for Efficient Motor Control
PWM motor control combines simplicity, efficiency, and precise speed regulation, making it the industry standard for DC motor applications. By understanding pulse width modulation principles and implementing proper circuit protection, you can create reliable motor control systems for projects ranging from simple hobby electronics to complex industrial automation.
The key to successful PWM implementation lies in selecting appropriate frequencies, using quality switching components, and always protecting circuits with flyback diodes. Whether you're using Arduino microcontrollers or dedicated motor driver ICs, PWM provides the flexibility and performance needed for modern motor control challenges.
Ready to implement advanced motor control in your projects? Explore our related guides on variable frequency drives and industrial automation to expand your motor control expertise.
🔗 Related Posts
- Variable Frequency Drive (VFD): The Complete Guide
- Understanding Induction Motors: Working Principle and Applications
- Motor Voltage Drop Effects: Why Your Motors Fail
- A Comprehensive Guide to IoT Devices
Helpful Calculators
- Voltage Drop Calculator
- Ohm's Law Calculator
- Power Factor Calculator
- Capacitor and Inductor Reactance Calculator
Credits
⭐ Was this article helpful?
IDAR Mohamed
Electrical Engineer
Electrical Engineer specialized in power systems, electrical installations, and energy efficiency. Passionate about simplifying complex electrical concepts into practical guides. (University of applied sciences graduate, with experience in HV/LV systems and industrial installations.)
- PWM Motor Control
- DC Motor Speed Control
- Pulse Width Modulation